This is a strategy page.
For the descriptive article, see: Skull Island (NL).
For the descriptive article, see: Skull Island (NL).
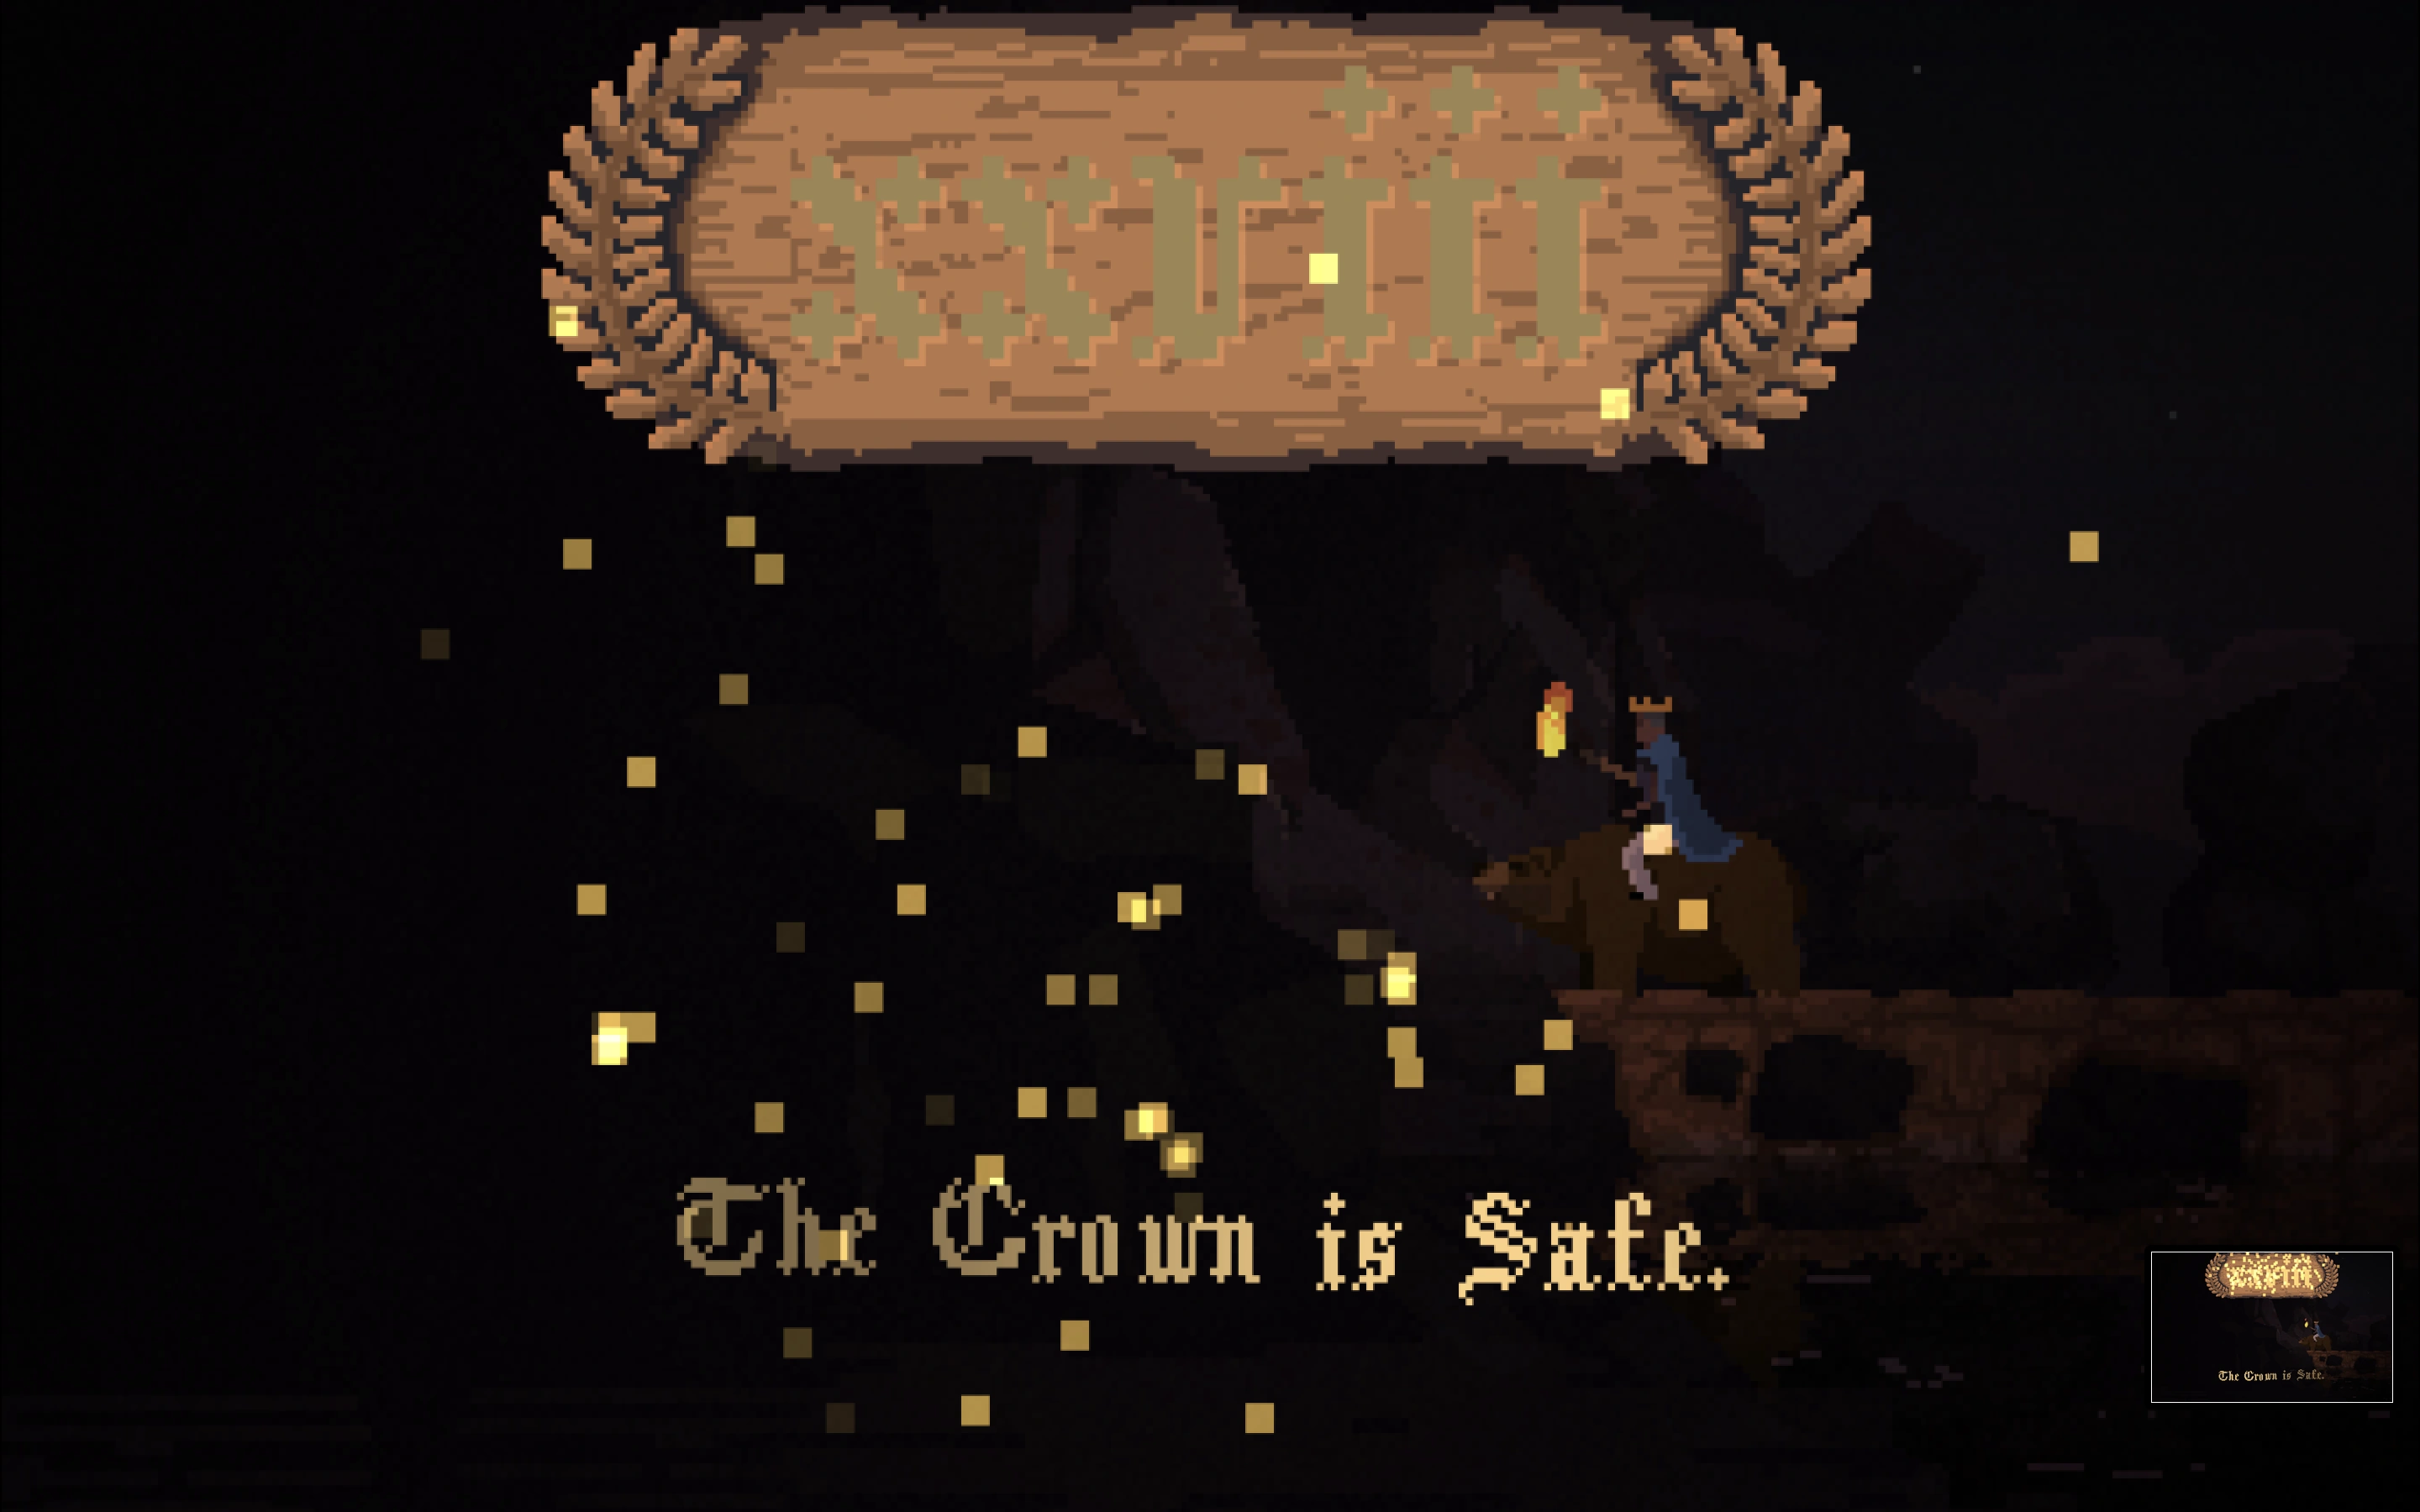
Skull Island (New Lands), safe in 28 days
This guide was originally written by a player who had beat the Skull Island on day XXVIII. Below are the tips they left on the wiki based on their experience.
Preparation[]

- Good mount (unicorn or bear). Bear if you are commonly resetting for island 2 spawns. I'd reccomend the bear as you can use it to clear the spawned waves from breeders (your typical killer).
- Hermits: Take the Baker or the Ballista with you. The Baker is overall more consistent; the Ballista Hermit would be recommended if you are confident (and feeling lucky in terms of vagrant camp spawn RNG) in your ability to run out to recruit vagrants.
- An overflowing bag of gold and three knights are highly recommended. A third knight is obtainable through the Knight Hermit.
Basic composition[]
- Walls close to base, prioritize making your furthest wall near another one/tower if possible, it will increase your surviving counterattacks and Blood Moons.
- Do not buy any scythes for farmers. Farmers are omitted not for a Skull Island specific reason but because they are a distraction and a coin 'trap'—they are a very inefficient way of providing passive income (very heavy investments of land, manpower, coins and time required), especially when foraging hunter archers and the Banker both exist.
- Archers are (fairly obviously) your most important occupation for your townspeople—a good number of workers is of course still needed. If you brought the Ballista Hermit then train more workers.
- Get a surplus of gold by day X through your mount and start banking money (you'll need this nest egg to help your kingdom quickly rebuild and recover after Blood Moons or counterattacks).
- Once you have a surplus make sure to have as many coins as possible with your Banker—useful for rebuilding, and for getting enough gold to skip entire waves of greed to send out your knights early in the night.
- Shrines are the most important factor. 100% uptime on all shrines is your most important asset.
- Also contrary to what you may have read, archer towers are good. While it's awful losing the gold gain from your archers foraging, it keeps them safe from waves of greed, and allows you to "cheese" the breeders as your normal archers lose their tools or run. Keep a breeder trapped near a wall/tower that has archers and repetadly drop gold on the smaller greed, or maul them with bear.
- Having your archers in these towers also helps to "bank" potential hunters if you know you're going to lose a lot on a Blood Moon. Upgrading the tower with the Hermit will send these archers back for hunting.
- Don't be greedy. You have tons of time, the waves are not strong unless you're actively aggressing, ensure you have a strong monetary base and army prior to expanding/sending out knights.
Killing portals strategy[]
- With the three knights you get early I'd reccomend taking on the first two closest portals ASAP, and focusing the direction with the most amount of shrines first.
- Kill the first three portals on each side. Avoid fighting the cliffs as they rebuild after three days. Your goal should be to kill both cliff portals at the same time (within the three days period).
- Two to three squads of knights for cliff portals, and one or two for small portals. If you're sending the minimum number, make sure to babysit them with gold or with your bear mount.
- Be wary of daylight greed spawns and don't push your walls too far. Some armored and normal greedlings run away during sunlight, so some Blood Moons from cliffs will not be as bad as they seem.
- Try to kill the two cliff portals at the same time to avoid the respawn (occurs three days after the cliff portal has been destroyed). Also don't fret if you lose knights going after a cliff portal, the damage stays, and as long as you didnt kill one of the sides, you can wait and reamass your army again to win (as I did in mine, I had to make two full knight squads for the left side that had one hit).
If you got this far I hope you win and GL. This was seriously a test of patience and preparation for me. Happy I finally finished it.
Contributors to this guide[]
- Brollibear (original text, on 11 September 2020)
- N00bslayer2016